
Hey,
It can be hard to get started running scripts in the cloud. I waited till my computer could not compute some of the larger datasets in my personal projects. Luckily I had learned some of these Linux commands when accessing the supercomputer at work. If you’re a product manager, marketer, financial analyst or data scientist who runs scripts locally then this should help you get started with cloud computing. Prior experience isn’t necessary.
Alternatively, if you need a script to try then follow the Slack bots for product managers article here:
https://freshprinceofstandarderror.com/product/slack-bots-for-product-managers/
If you’ve never used Python before then maybe start here:
https://freshprinceofstandarderror.com/ai/setting-up-your-data-science-environment/
Cloud hosting services
There are a bunch with the most popular being AWS (Amazon) or Microsoft Azure. If you want something quick and cheap then Digital Ocean has a clean UI. AWS and Azure are usually more expensive because they offer a lot of services and people can build their entire stack on those platforms. If you have a team of hundreds of devs then the increased productivity makes the pricing seem cheap.
If you don’t already pay for something. You can pick whatever free trial you have available.
Microsoft Azure
I’m picking Azure even though using Digital Ocean would be easier. I’d like to experience what it would be like to go through their onboarding and trail journeys. It’ll also be nice to whip up some heavy duty machines in the future.
I went here (https://azure.microsoft.com/en-us/free/) and made a free account.

They made me verify my account with my phone number and my card. Ugh.

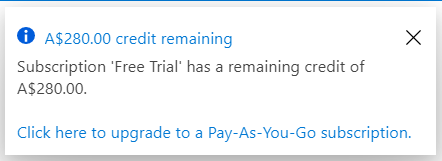
Free money, yey.
Creating a VM
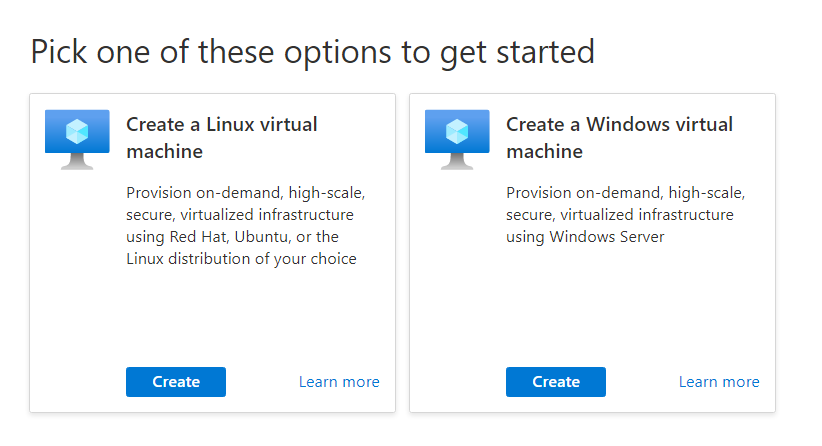
I’m actually not that familiar with Azure, there are a plethora of options but deploying a VM seems most familiar. Create a Linux virtual machine, obviously. Serverless is another easy option to try once you’re comfortable.
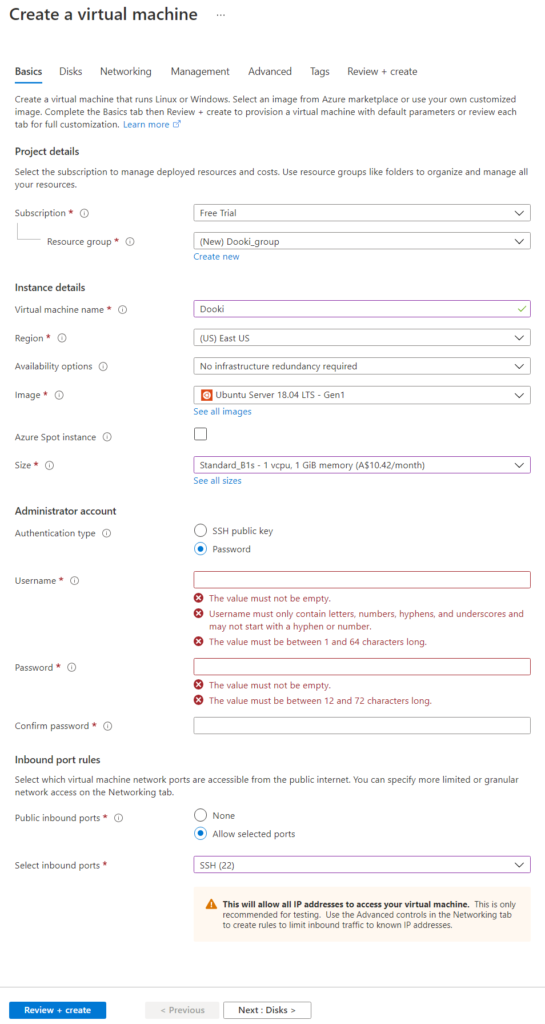
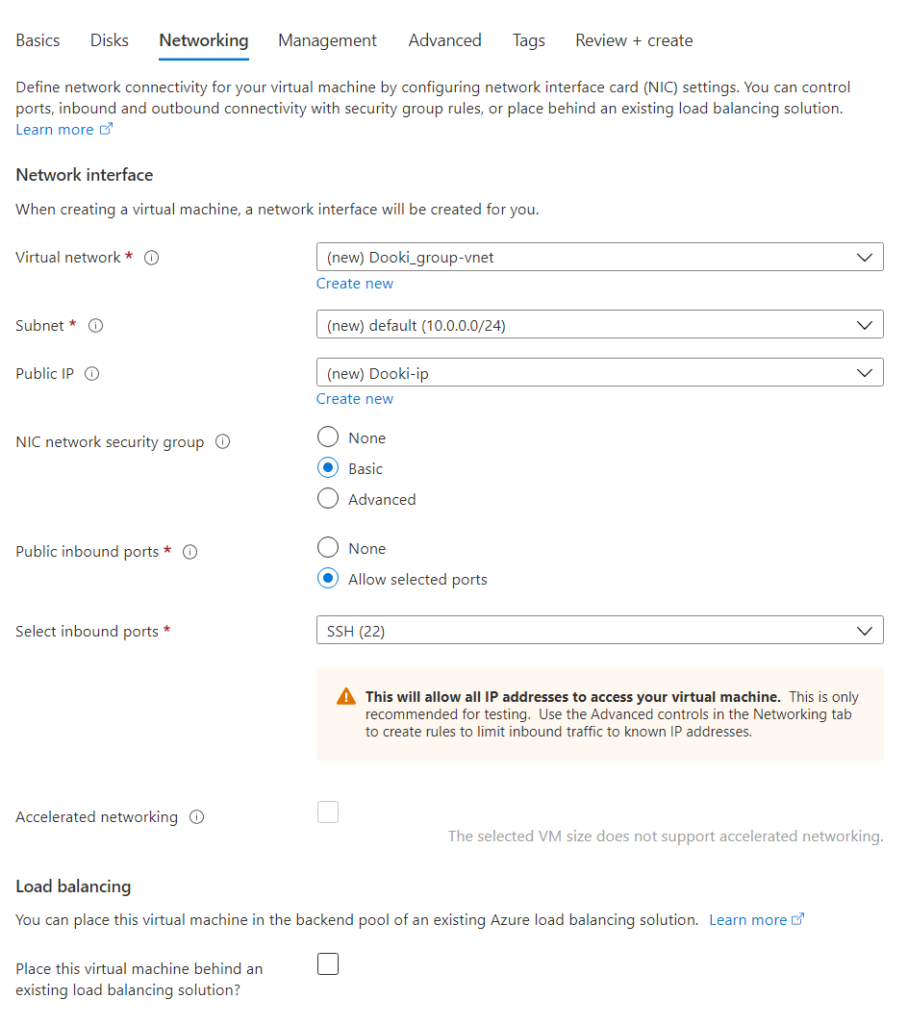
In the following screen you get to pick a few more options.
- Subscription: Free trial
- Virtual machine name
- Image which is the Linux OS in this case
- Size, the default is $100 dollarydoos each month so I picked a cheap one
- Authentication type, I recommend SSH but I pick password since I won’t be using this server after today
- Inbound port rules
I picked the standard SSD for disks.
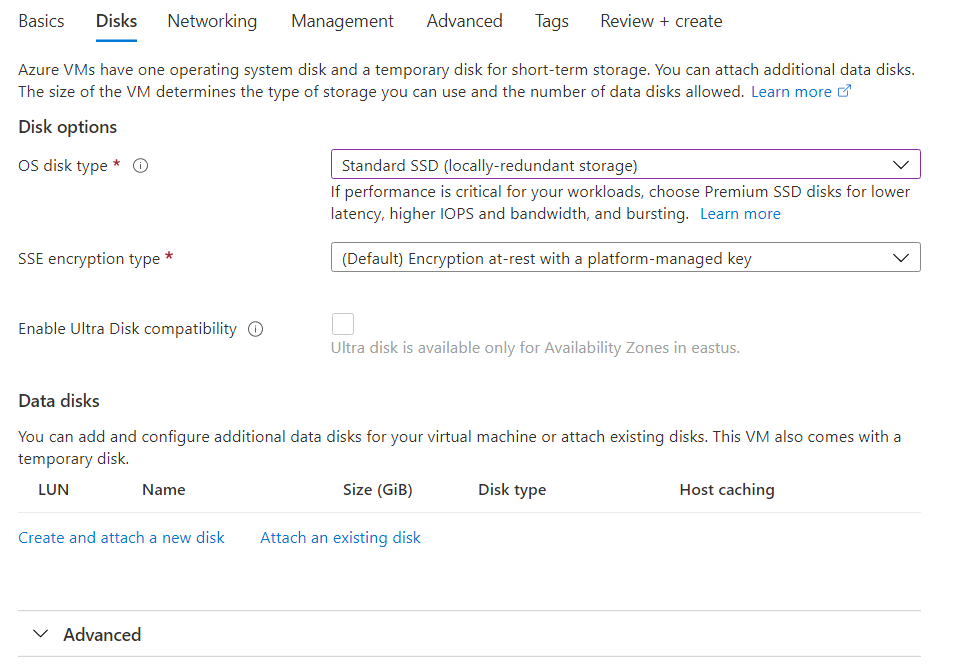
Left networking and management alone, nothing seemed like it required changing.
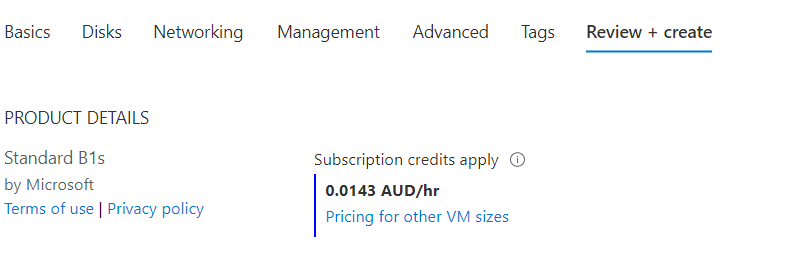
Did not change advanced or the tags tabs and ended up reviewing and creating the machine. It’s going to cost a negligible amount of cents per hour.
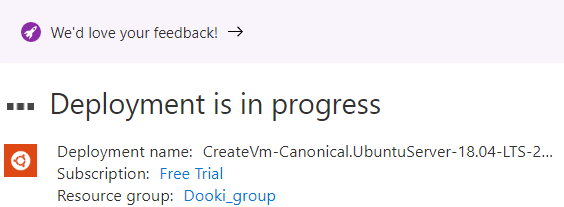
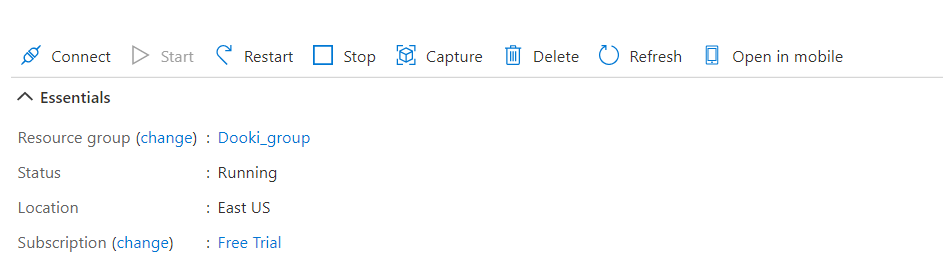
That was quite an undertaking but the hard part is over. If everything went smoothly then your deployment will have finished.
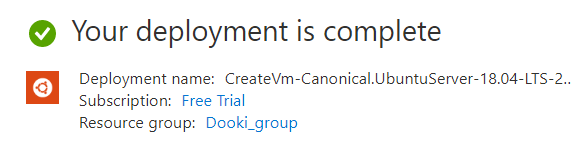
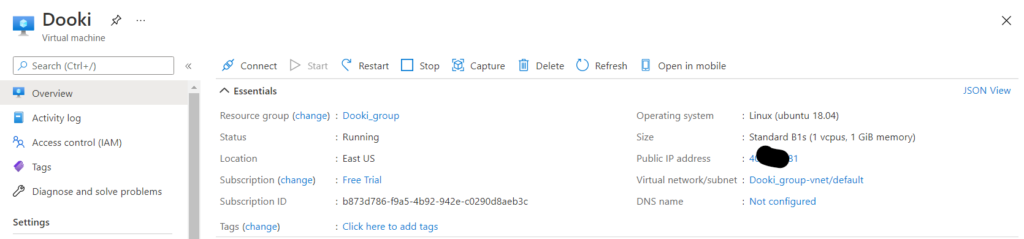
Click ‘go to resource’ and in the overview tab you should see the public IP.
Connecting to and using your server
Unless you’re a fan of Putty try the built-in SSH client within Windows 10, it is enabled by default (since 2018).
Open command prompt or whatever you prefer and SSH into your server using the IP from earlier.
ssh [email protected]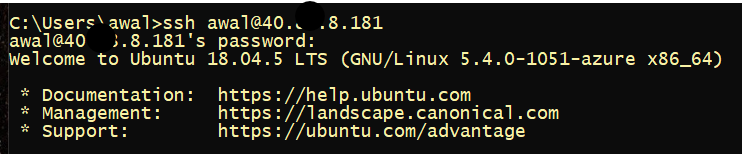
It might not be necessary but update the environment. I do it out of habit.
sudo apt-get update
Sudo allows running the command as root user (short for super user do). Apt is a package management tool kind of like conda or pip for Python, it allows installing software in some Linux distributions.
You can type in python –version to see which version is installed.

The default 2.7 is an old version of Python so I will be installing 3.x
A few other things worth having are
- Package manager like pip for Python
- Git
sudo apt-get install python3.8sudo apt-get install gitsudo apt-get install python3-pipGood work, if copy pasting some commands in a terminal ? does not make you feel like a nerd then nothing else will. If you haven’t been able to copy and paste try using your mouse instead of the keyboard shortcut.
Getting your code to run from the server
An easy way to get your code into the server is to get it from GitHub, another Microsoft company. This will require you to have your code there already.
You will need Git on your computer as well as a Github account if you want to push your own work to Github.
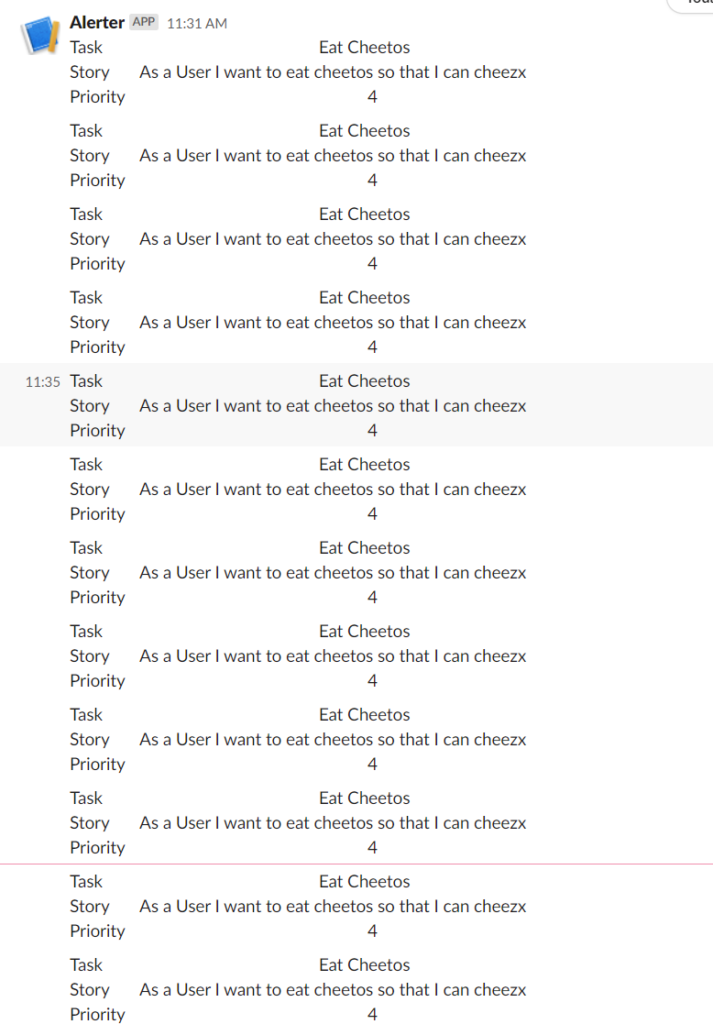
In my previous article we had made a Slack bot that periodically reads a Google Sheet and posts the last row into a Slack channel. It is a short article so read it here : https://freshprinceofstandarderror.com/product/slack-bots-for-product-managers/
import pandas as pd
import requests

pd.set_option("display.max_colwidth", None)

g_sheet = 'https://docs.google.com/spreadsheets/d/1yfzBeIvNfTrK93qzM6uGUAUa0hb3zu08cXGsDH-LKNc/edit#gid=0'
g_csv = g_sheet.replace('/edit#gid=', '/export?format=csv&gid=')


WEBHOOK_URL = 'INSERT YOUR URL'

def create_message():
    df = pd.read_csv(g_csv)
    message  = df.iloc[-1].to_string()
    return message

def push_message(message):
    payload = {'text':message}
    requests.post(WEBHOOK_URL, json=payload)

push_message(create_message())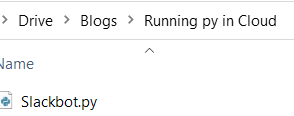
You can copy the code and paste it into a .PY file in a folder on your computer and upload it to your Git.
Intro to intro to intro to commands for Git (optional)
GitHub docs do a better job at explaining how version control works than me. Git allows saving your code from time to time and gives you the ability to revert to the last working commit when you eventually break your project. Please skip if you know how to do this already. The steps to get your own code onto GitHub are the following.
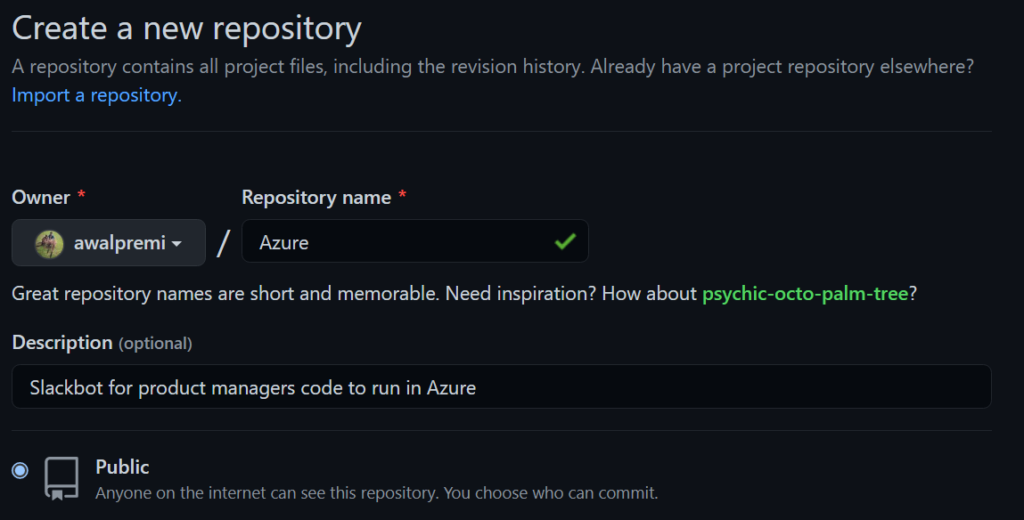
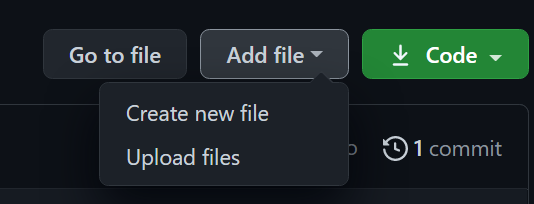
Once you’re logged in create a repository. You should be able to upload a file from the browser too if you cant be bothered installing Git (no pun).
If you chose to challenge yourself then navigate to the folder you saved the .PY file via your favourite console.
git init
git add *git commit -m "YOUR COMMENT"
Initialises a GitHub repository and adds the files from the folder to next commit. The last command commits the files with a handy comment that can be referred to later using git log.
Create a branch to push to GitHub
git branch -M mainAdd the remote repository link to your local folder’s git repository
git remote add origin https://github.com/awalpremi/Azure.gitPush it to your account.
git push -u origin main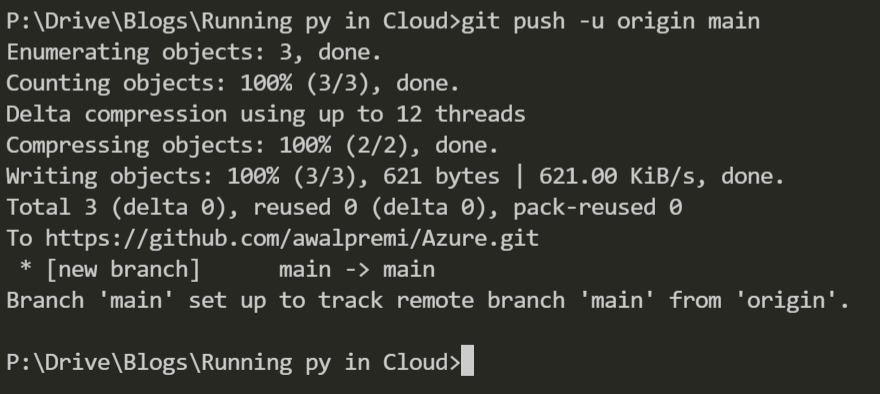
Sweet, now it should be on your GitHub account.
Running your Python script on Azure
You will want to clone your repository using the terminal that SSH’d into your Azure server. If you forgot your repository link then you can find it on GitHub. Feel free to clone mine and I’ll show how you can add your Slack Webhook via the terminal to that .PY file.
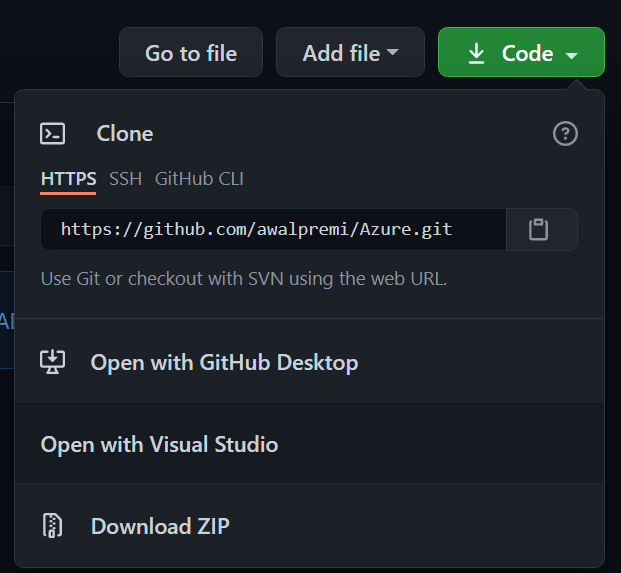
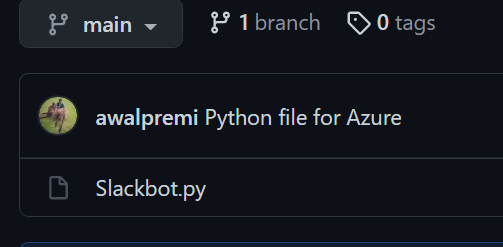
git clone https://github.com/awalpremi/Azure.git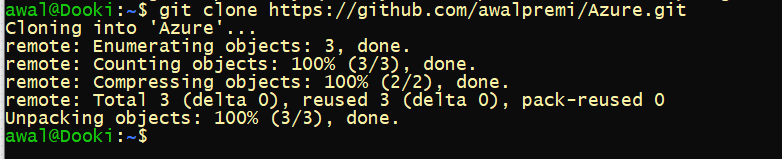
cd Azure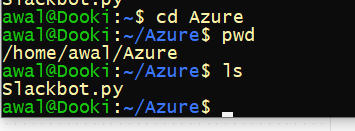
Cd changes the directory to Azure. You can also use ls and pwd to show the files in the folder or to print working directory.
We will now edit the variable for Webhook in the .PY file on the server so you can add yours. It’s a nice skill to have. We will use nano, an editor for within the terminal.
nano Slackbot.py
Use your keyboard’s directional keys to navigate to WEBHOOK_URL and change the link. Remember that it needs to be a ‘string’.
‘https://hooks.slack.com/services/BLABLABLA’
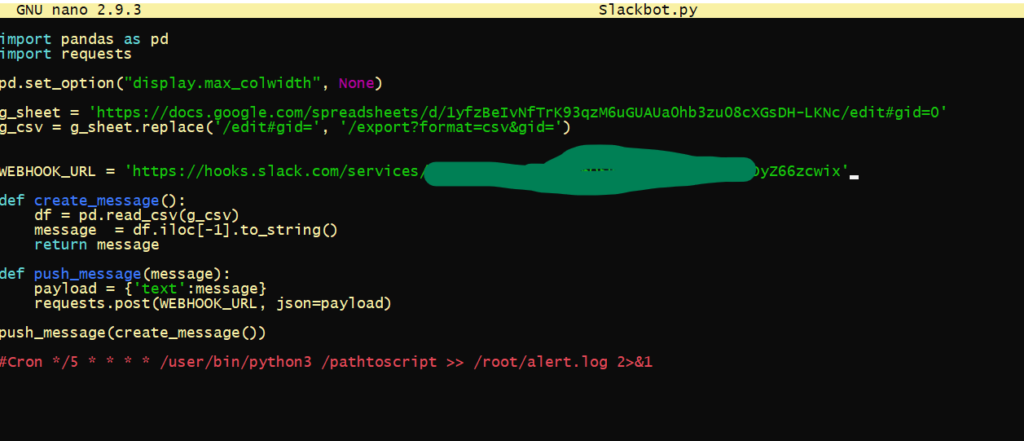
Use CTRL + O to save changes and CTRL + X to exit. The shortcuts are handily provided at the bottom of the editor if you forget.

We can test the script now!
python3 Slackbot.py
Fek, we got an error. Forgot to add a requirements.txt file for all the packages we need. This error means we don’t have pandas installed. Good, challenges are interesting. We will need to install pandas and requests on the server.
pip3 install pandas requests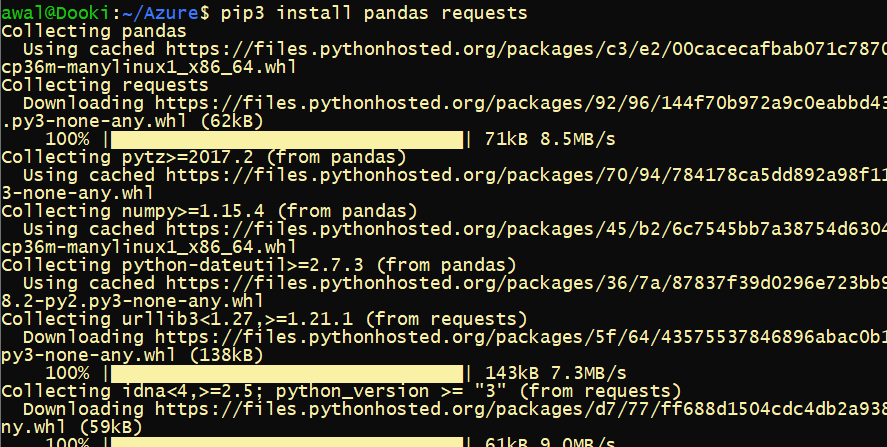
Try running the script again after it installs using python3 Slackbot.py

Ye buddy!
Automation – running the script at intervals
Nice, all you have to do it make it run at an interval. This is done using a cron job. Make sure cron is installed and enabled to run in the background.
sudo apt install cron
sudo systemctl enable cron
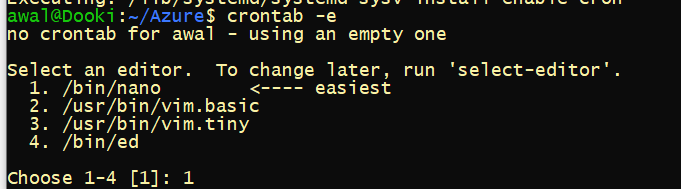
To create cron jobs use the following and pick nano as the editor which is the first option.
crontab -e
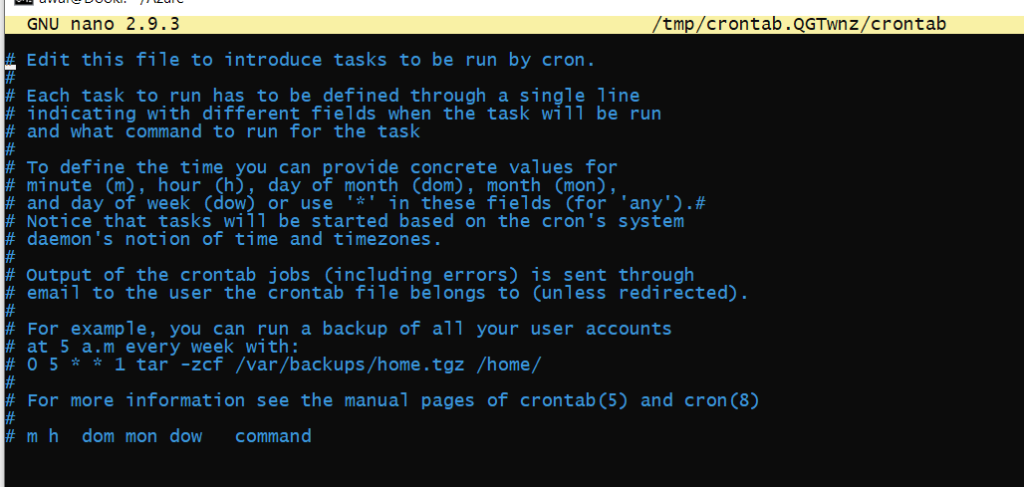
Under all the commented out instructions we will schedule a job. It has a weird syntax but to schedule it for every 2 minutes we will need to add the following code snippet. Change the places it says awal with your own username.
*/2 * * * * /usr/bin/python3 /home/awal/Azure/Slackbot.py >> /home/awal/Azure/Slacklogger.log 2>&1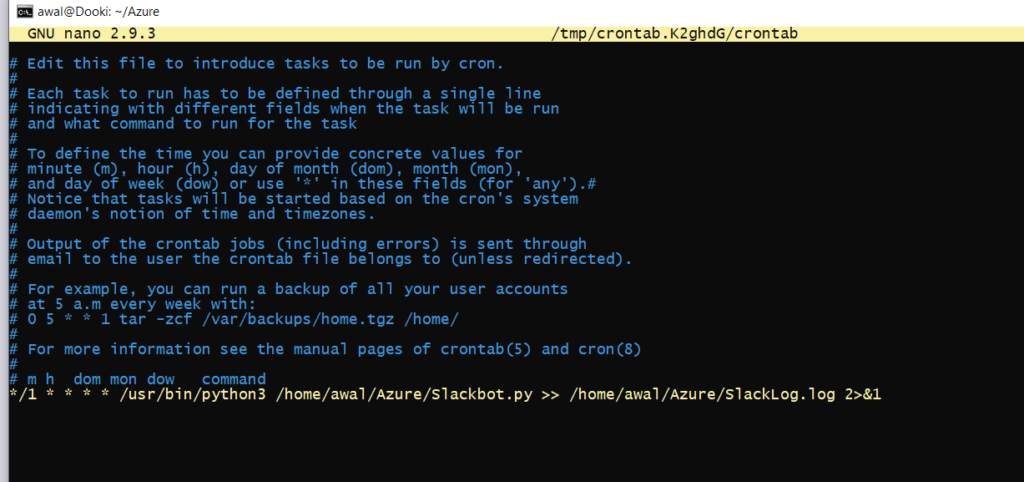
The first portion defines the *schedule* / the next portion is your Python installation / the script location >> and finally the weird part at the end creates a log file for each time the job runs. I don’t know the logging portion of this by heart and I look it up each time.
You can play with scheduling on this link https://crontab.guru/#/2__* and create a more complicated schedule if you’d like.
Use Ctrl + X to save. If you had picked a different Linux image and cannot figure out your Python path then use the ‘which python’ command.
Now the script should run at the specified schedule.
You can stop the machine once you’re satisfied.
Amazing work, if you stuck to it until now. It takes a lot of motivation and passion for technology to get this far.
What you learned
- Creating a cloud account with one of the largest providers in the world
- Deploying a VM
- Useful Git commands
- Useful command line and bash commands
- Accessing and editing your code in the terminal
- Automating scripts via cron
- Hopefully, Slack Webook and creating a Slack bot
Things you could learn next
- Google cron, bash commands and whatever else you found confusing
- Using private GitHub on the remote machine and maybe copying files over from your local computer
- SSH keys and using them to access remote servers
Congratulations, go forth and experiment.