
Namast,
Will keep this one short and sweet. Boot up your Mac (book, mini, studio, etc.)
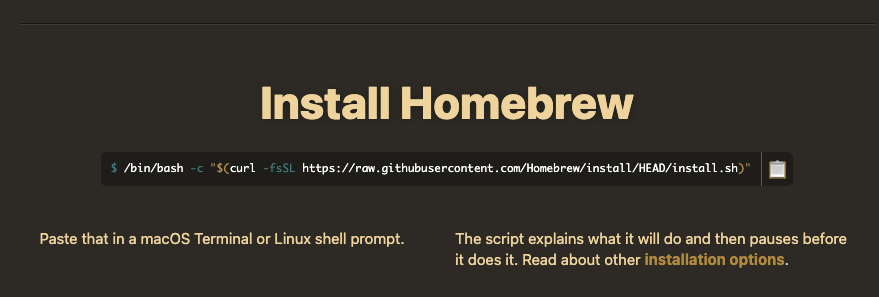
Go here:
What is it? It’s a package manager that lets you install things via terminal easily. Install via terminal by copy pasting their install Homebrew command. We’ll use it to install our Python environment. You can use it to install various things. It’s popular and safe.
Nice.
Setting up the Python environment.
Alright, so you must have heard of conda or anaconda. If you’re a fan of pip you can still use it in your conda environment. Use miniforge.
How is it different? Its minimal like miniconda, does not come with a lot of unnecessary packages. Unlike miniconda it uses conda-forge as default which usually has newer packages and is maintained by the community.
Search for miniforge on the homebew website. Otherwise, in your browser you can search for brew install miniforge. The result will take you to the right page (🤞🏾).
On that page you should see the install command.
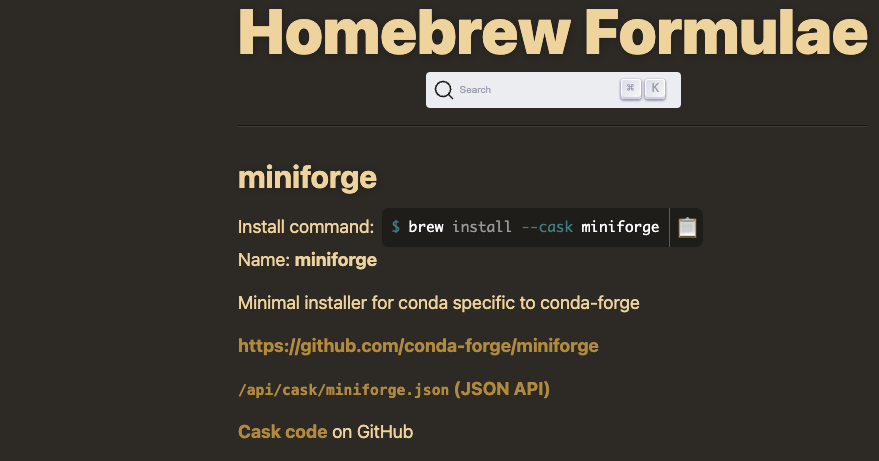
Open your terminal and copy paste that command.
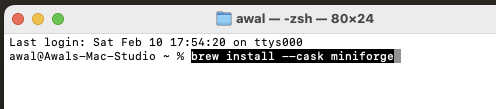
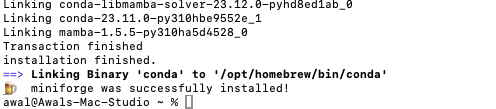
You should have it install painlessly.
Note on Homebrew: You can use it to install all the packages you would want on a Mac. I prefer installing popular tools from the appstore, and then for everything else use Homebrew
Visual Studio: A Code Editor
Open up Visual Studio Code. If you don’t have it then in the terminal type
brew install --cask visual-studio-code
After it installs open it.
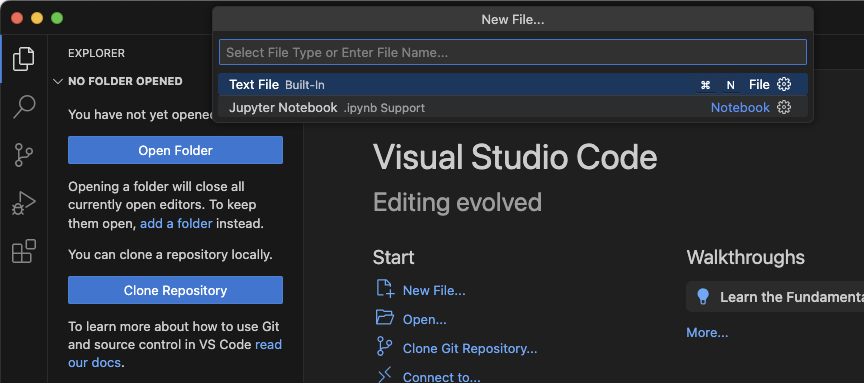
Create a Jupyter Notebook (Cmd + Shift + P).
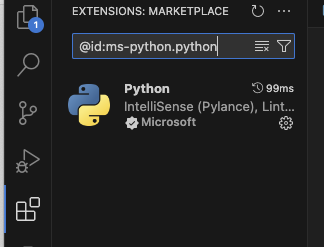
It should ask you to install the Python exetension.
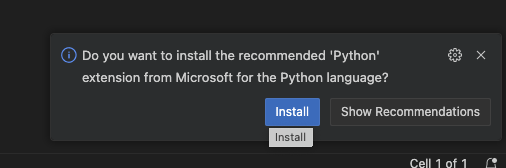
If not then just go to extensions and install Python.
The Datascience Environment
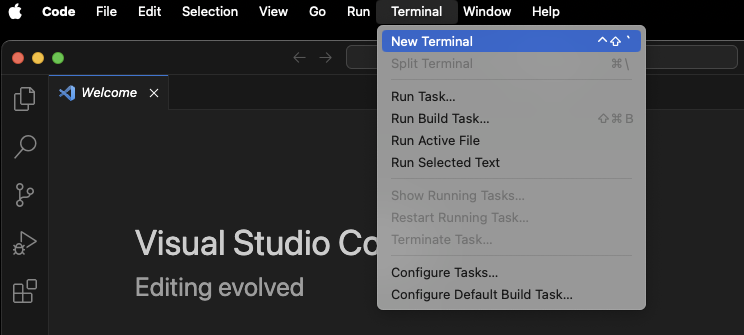
You can use the terminal app in Mac or I usually use the terminal in VSC.
Open up VSC and open a new terminal.
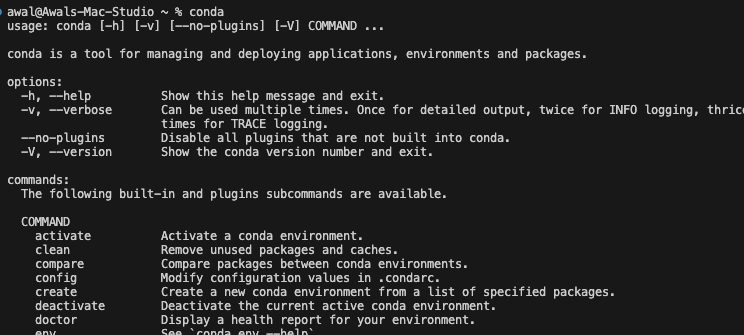
If you type conda you should see that you have conda.
To create a new environment named data type this
conda create --name data
type y for yes to proceed.

Sweet, now you can activate it by typing
conda activate data
F, it gave me an error.

Check which shell you have using echo, likely zsh. You need to hit init the first time. It adds the right configs for your shell.
echo $SHELL
conda init zsh
Reopen the terminal in VSC and try to activate your environment
conda activate data

Nice. You are all set up.
You can create other environments so you have a self-contained area for whatever you want to install for a particular project. You can also always go back to the base environment but it is not recommended to use it for projects.
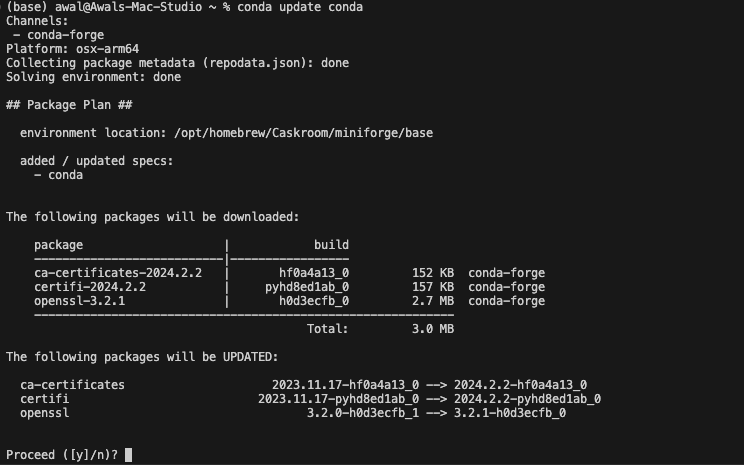
You can go to the base to update conda but usually not much else.
conda activate base
conda update conda
MLX and final notes
Ok so once you have activated the environment we need to use a few commands to make it easily accessible in Visual Studio Code. If you use conda list you will see it is barebones (read empty).

First we need Python. Second we need ipython kernel so VSC can properly see and use the conda environments for our notebooks.
Technically if Python is a dependency for something you can install that something and have it sort out all the dependencies for you.
I’ll install MLX because I’m going to be using this new Mac for machine learning.
MLX is a numpy like tool for Apple silicon but it’s really nice to try out and create neural networks etc.
https://ml-explore.github.io/mlx/build/html/install.html
In that terminal within VSC type this in the environment you want it installed.
conda install conda-forge::mlx
You’ll see it’s going to install Python and pip along with other dependencies.
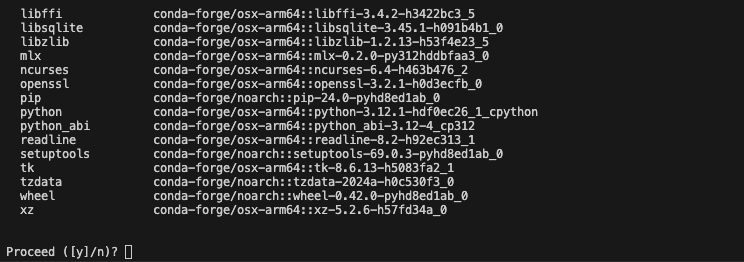
hit y and you’re good.
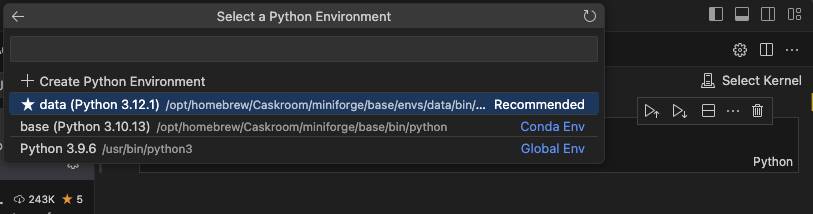
Once it’s done hit Cmd + Shift + P and find Python Select Interpreter.

You can see all the ones you have installed.
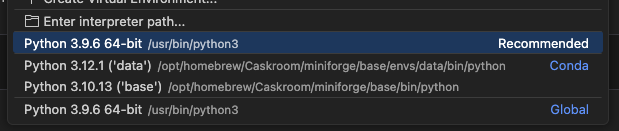
I have
- 3.9 from just having a Mac
- 3.10 in the base environment
- 3.12 that installed with MLX
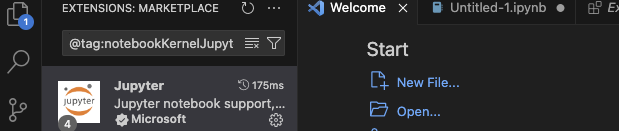
Oh before I forget, also go into extensions and install the Jupyer extension. You’ll have to do it sooner or later.
Hate to do this for you but restart your computer. I didn’t restart mine because I was lazy (it was still fine). Once you’re back create an .ipynb file and in Select Kernel you should be able to see your new environment.
It should tell you that you need iPython Kernel
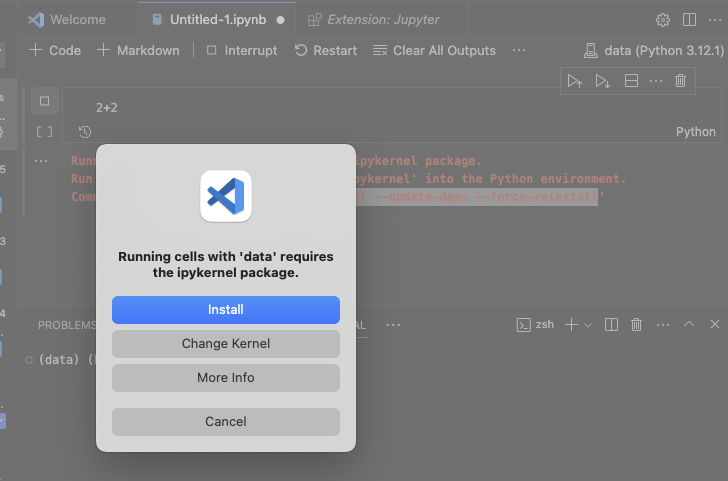
Hit install, it just runs the conda install command for the package.
Nice, you’re good to go.
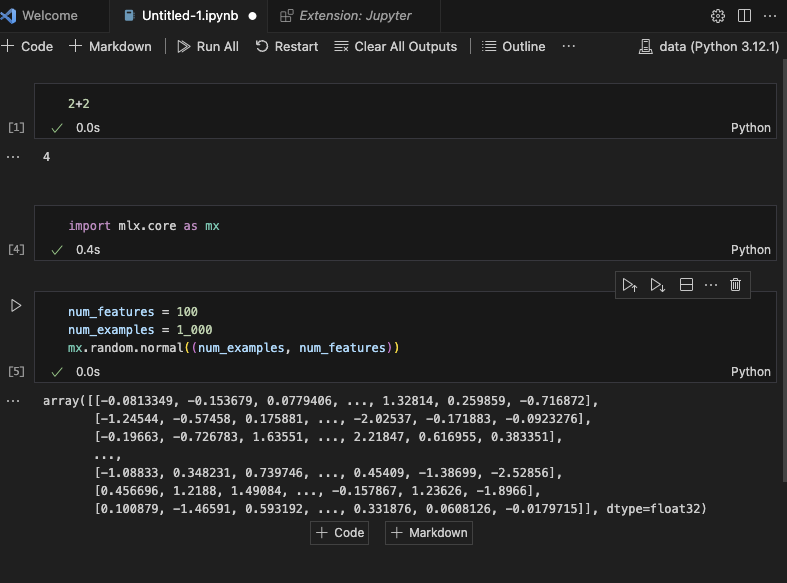
Bye.
3 comments
Comments are closed.