
Git is just a way to manage version control. It was made by the same person who made Linux. GitHub is a cloud service that lets you upload your git repos to the internets and have a backup or collaborate with people easily.
PS: I make a mistake in this article when setting up my git repo and I’ve made the same mistake a couple of times before. But you should make the mistake too because you learn to love the things that make you suffer.
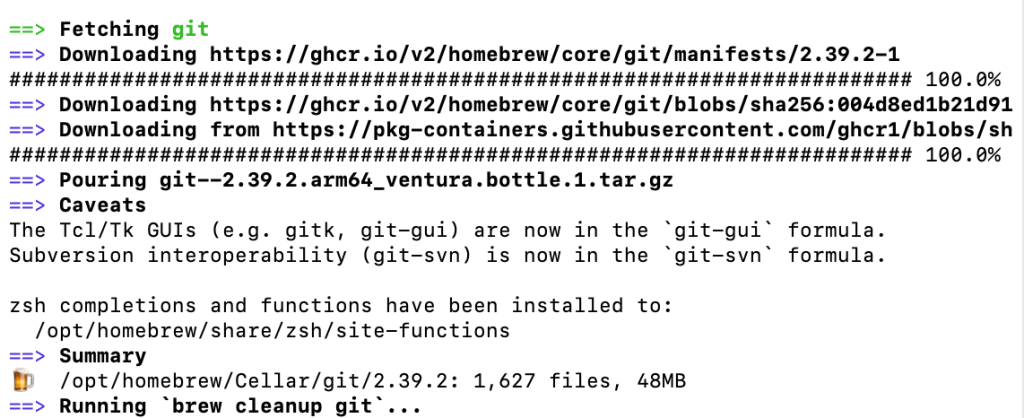
You’ll want homebrew, as a package manager. Otherwise you can just go to respective websites for git and github.
https://formulae.brew.sh/formula/git
brew install git
Get a gui if nob like GitHub Desktop. You can get used to using the terminal for git commands later. https://formulae.brew.sh/cask/github
brew install --cask github
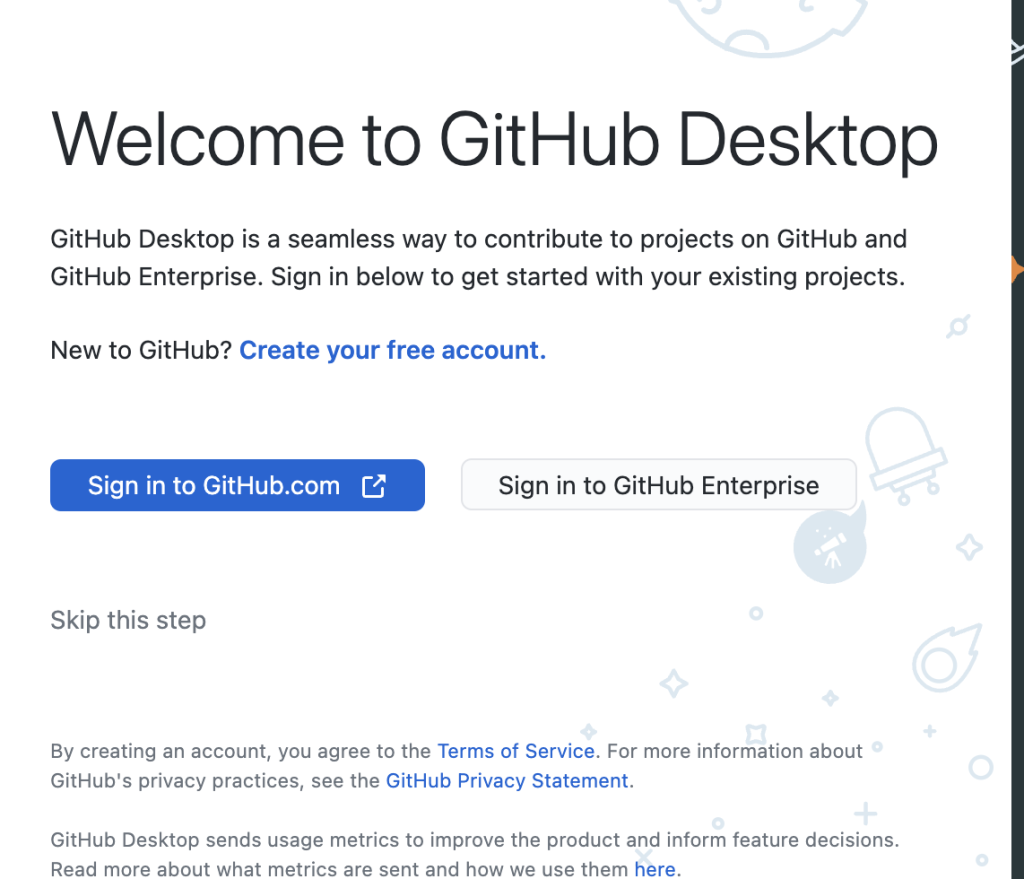
click GitHub Desktop and open it, sign in if you have a github.
Well if it’s your first time, assuming since you’re looking at this; create a repo on your hard drive.
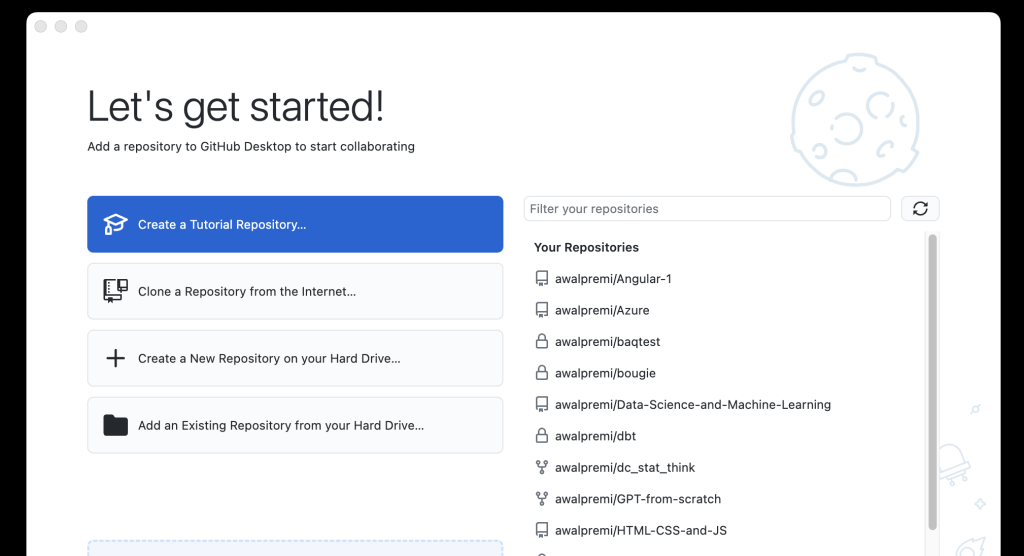
Give it a name, pick wherever you’ll be saving your Unity project for the path.
IMPORTANT: Pick the Unity git ignore file. You do this so it just uploads the stuff you need and not the huge files you don’t need to upload for the project.

I’ll show how to change the .gitignore file later
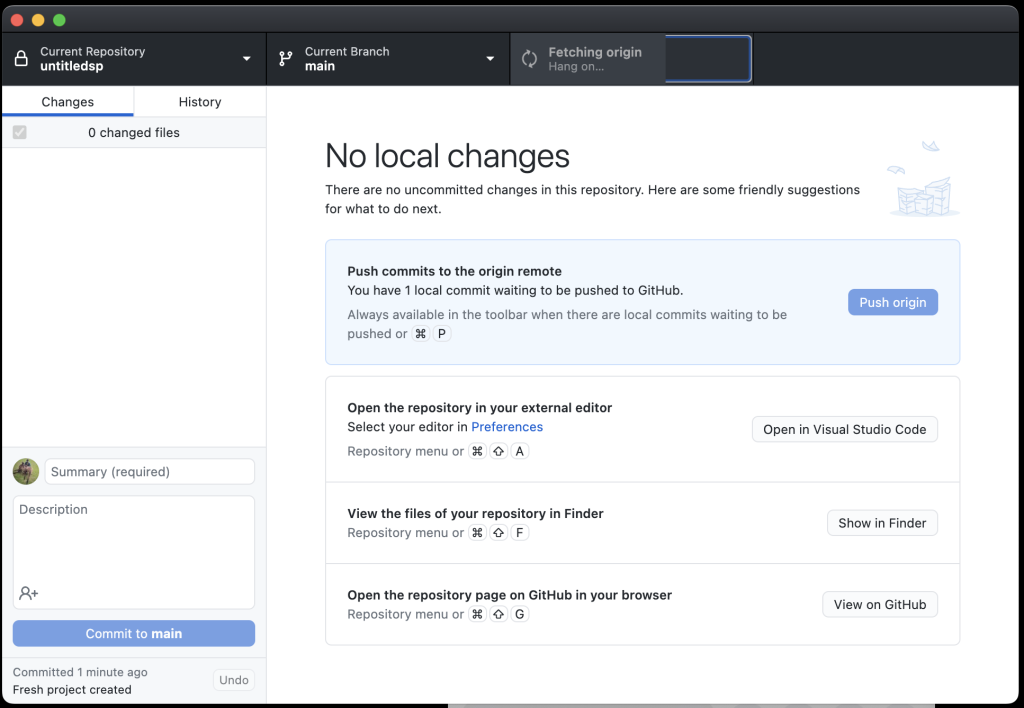
Anyway, if you clicked Create Repository you’ll be greeted with this screen.
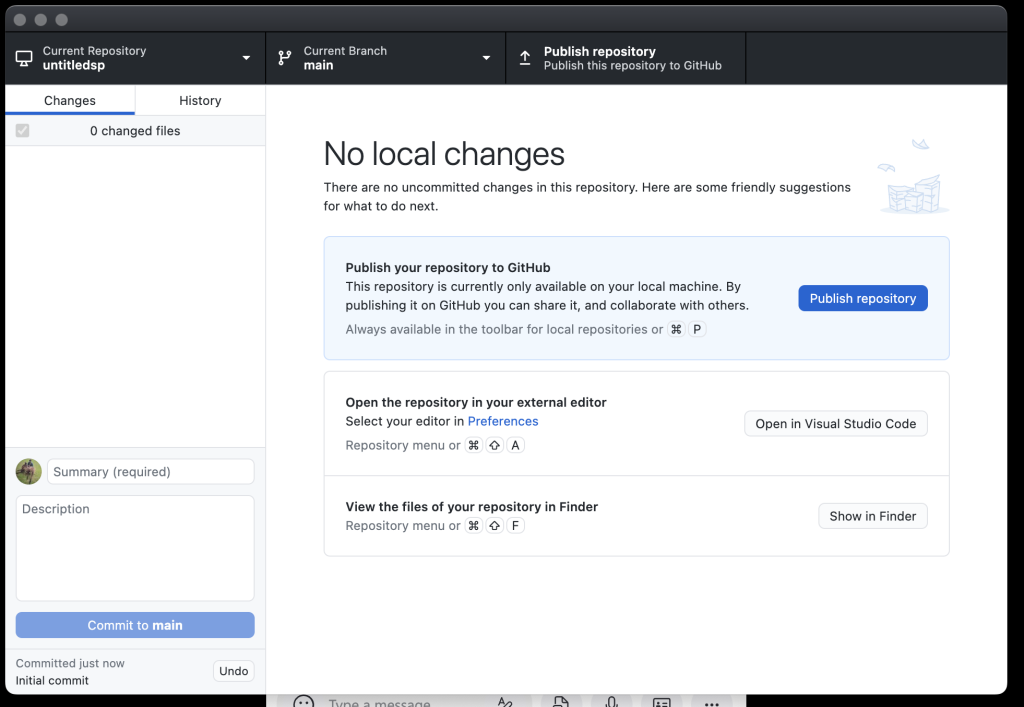
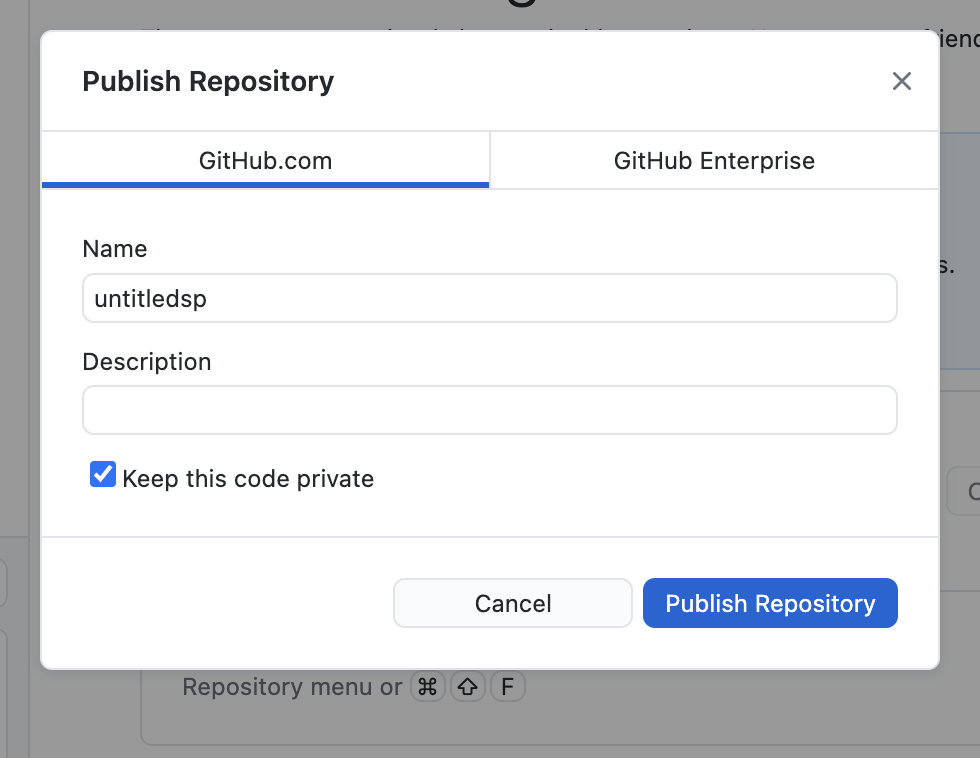
If you want the benefits of GitHub like having your git repo in the cloud to share or backup etc. Then you want to click Publish repository.
Make it private if you want it just for yourself or only the people you invite.
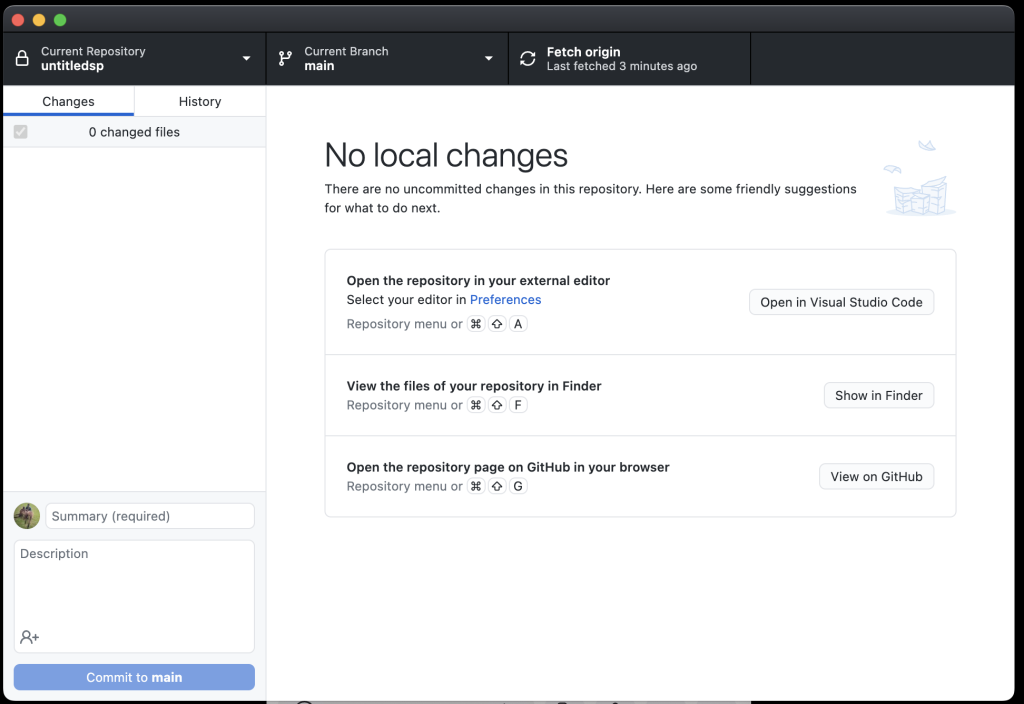
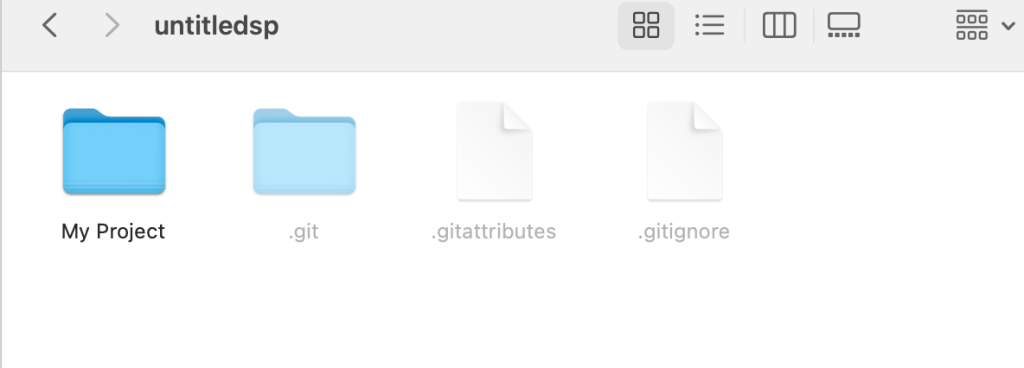
Your stuff should look like this now.
I guess go make a unity project in that folder. So we can see how that screen changes as you add things to the folder.
Open Unity Hub and the GUI is simple enough to make a new project
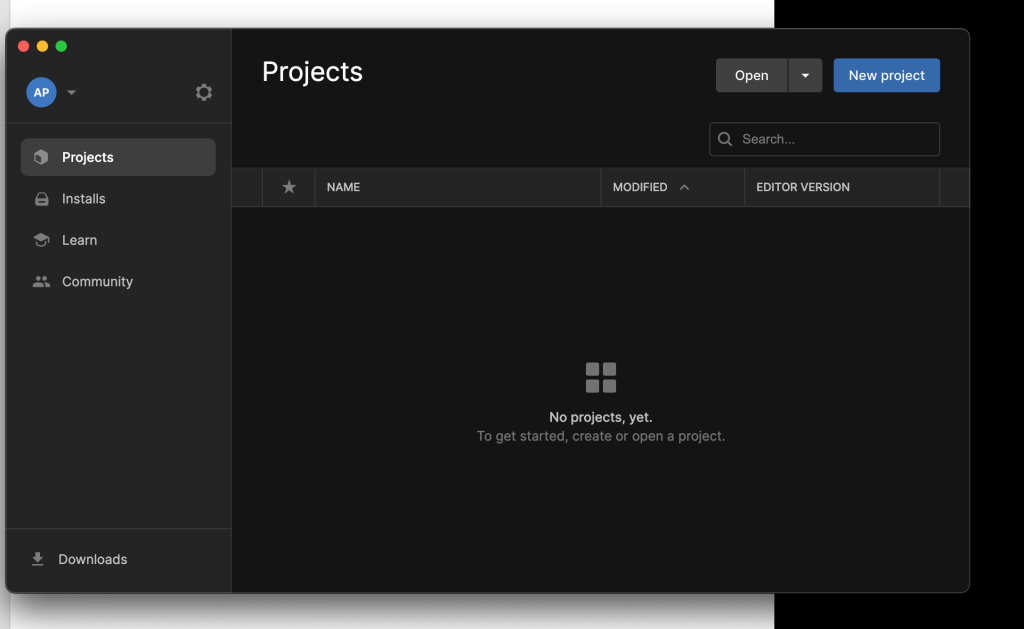
Make sure the location is where you had your git repo initialised.

Wait for Unity for an eternity.
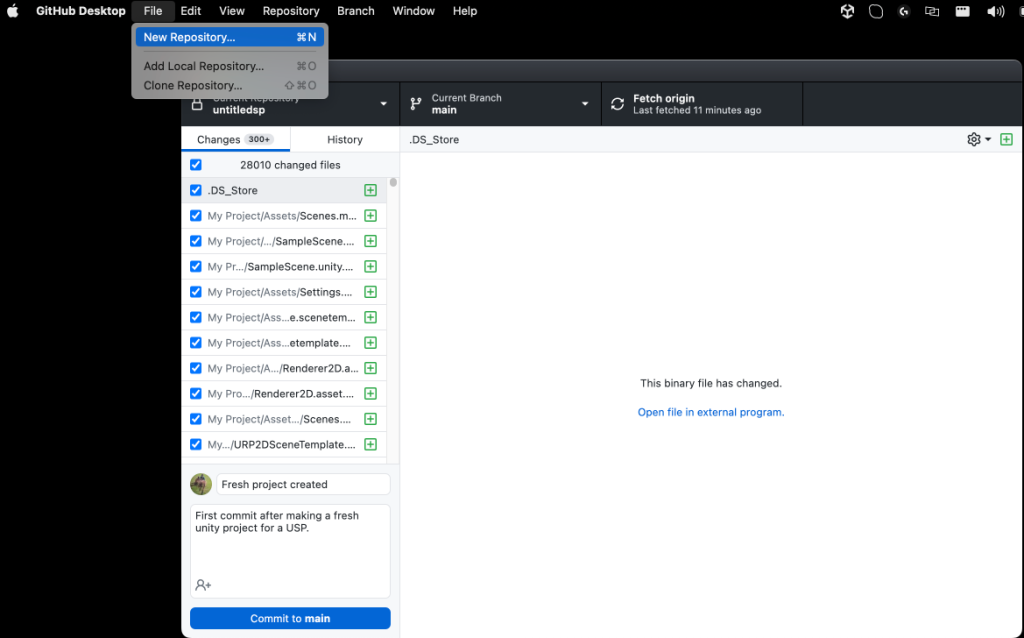
If you go back to your GitHub Desktop you should see a bunch of new files Unity added to the folder.
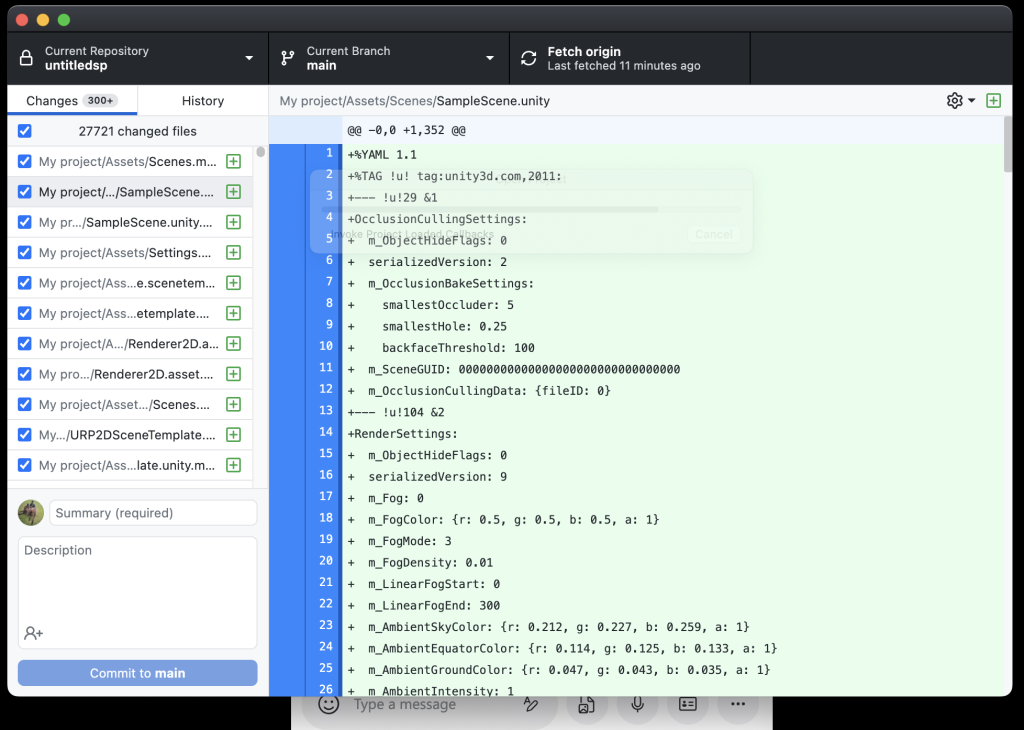
Awesome, this is what you’ll be using Git for; to put it simply it’ll monitor changes in that folder. It monitored 27k changed files, try doing that without Git.
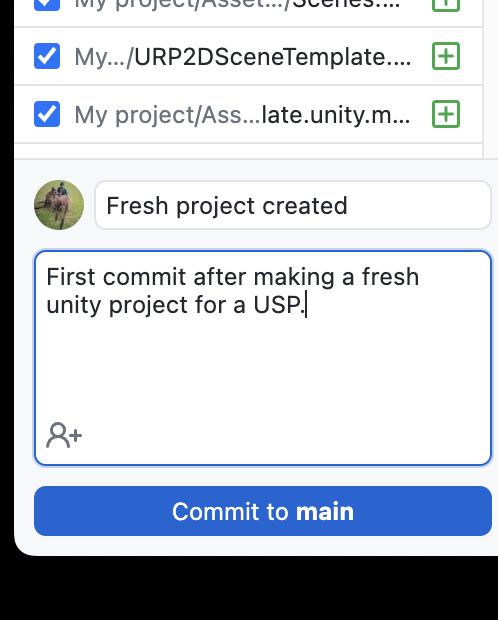
If you’re happy with the changes you can commit them, give it a good summary and a good description. Then click commit to main.
If you’re an idiot like me you’ll see this and be like Oh crap, we have this issue now. So we can enable large file support but it’s really because I messed up the folder structure and so did you.
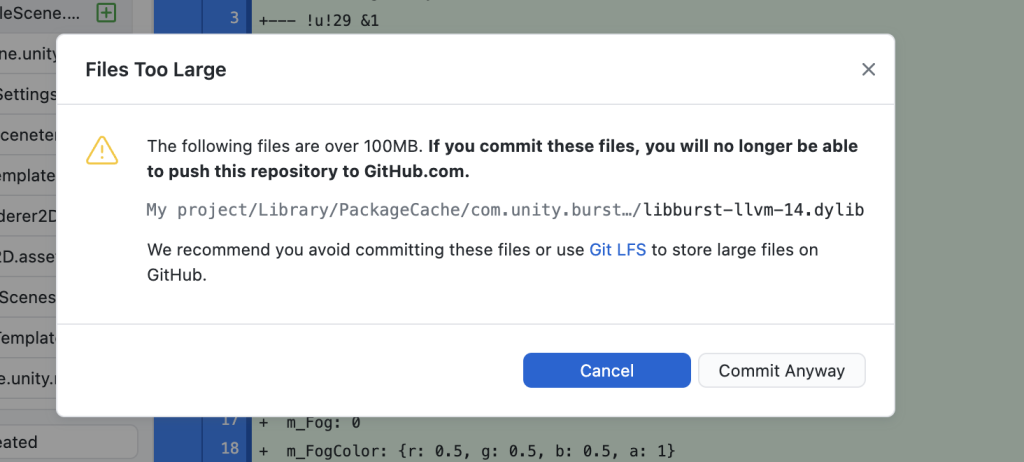
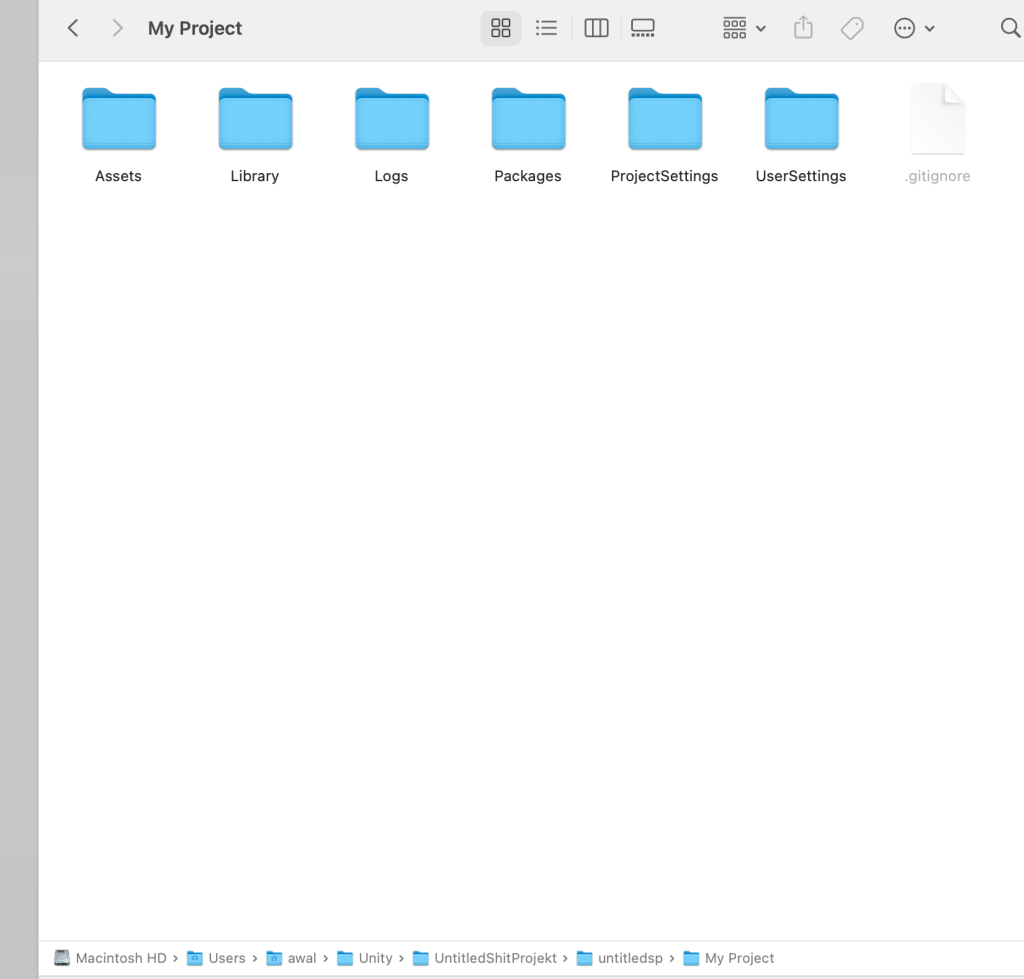
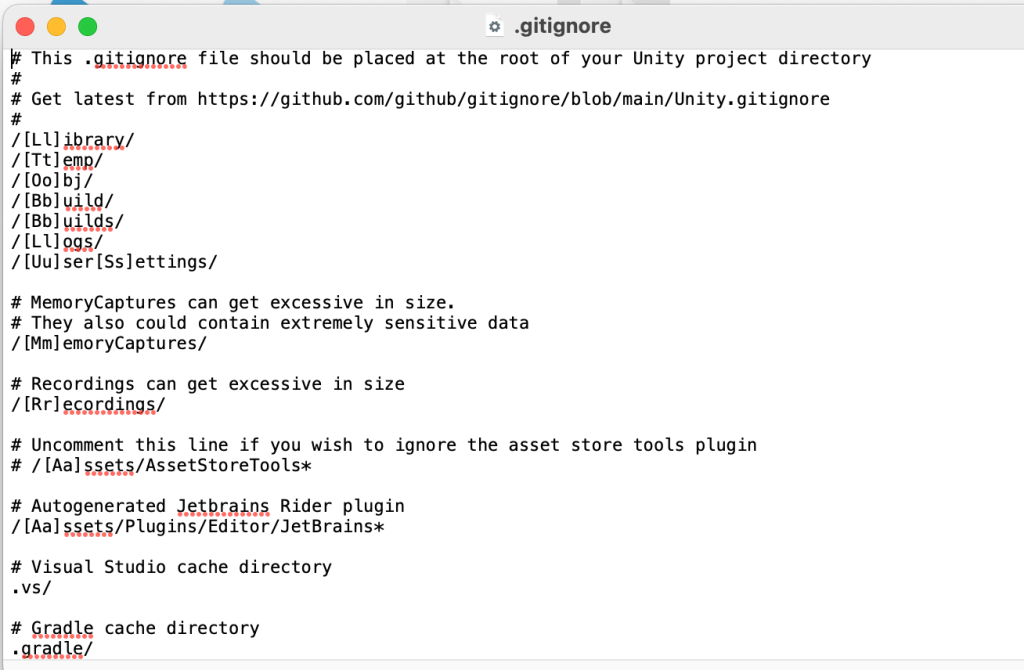
Click cancel on that prompt and we can fix our problem in a few ways. My .gitignore file isn’t at the root folder of my project since my folder structure is almost offensive.

Go to the folder where your .gitignore file exists
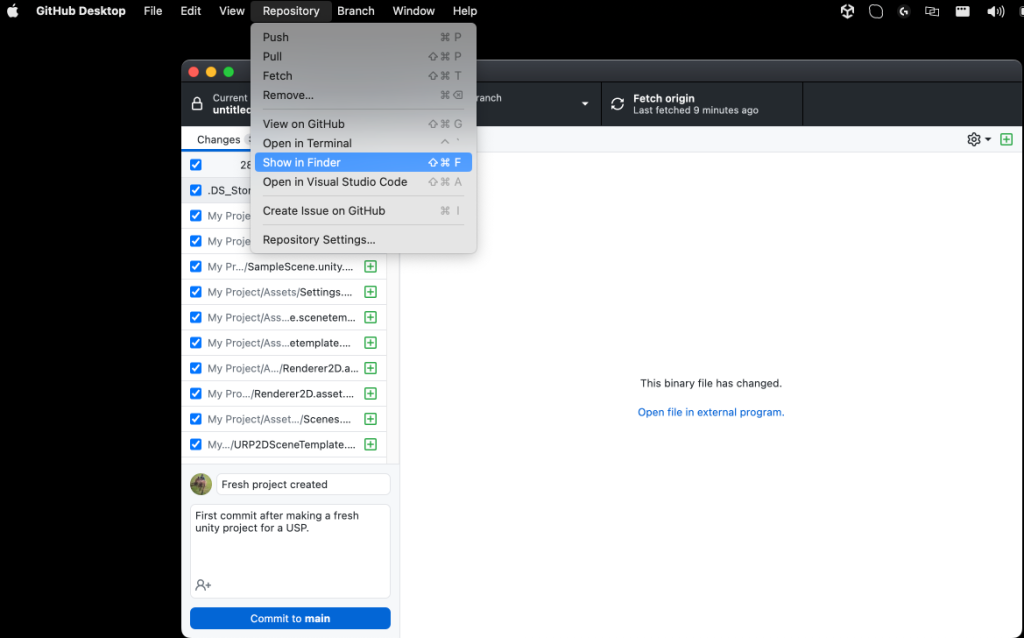
if you don’t see it try using Command + Shift + . to show hidden files.
- We can simply move .gitignore to the My Project folder.
- The other option is to move all the files from the My Project folder 1 level out.
- The third option is to initialise a new repo and get rid of all the work we did.
I just moved the .gitignore file one level in.
GitHub Desktop will now have fewer files it is monitoring.
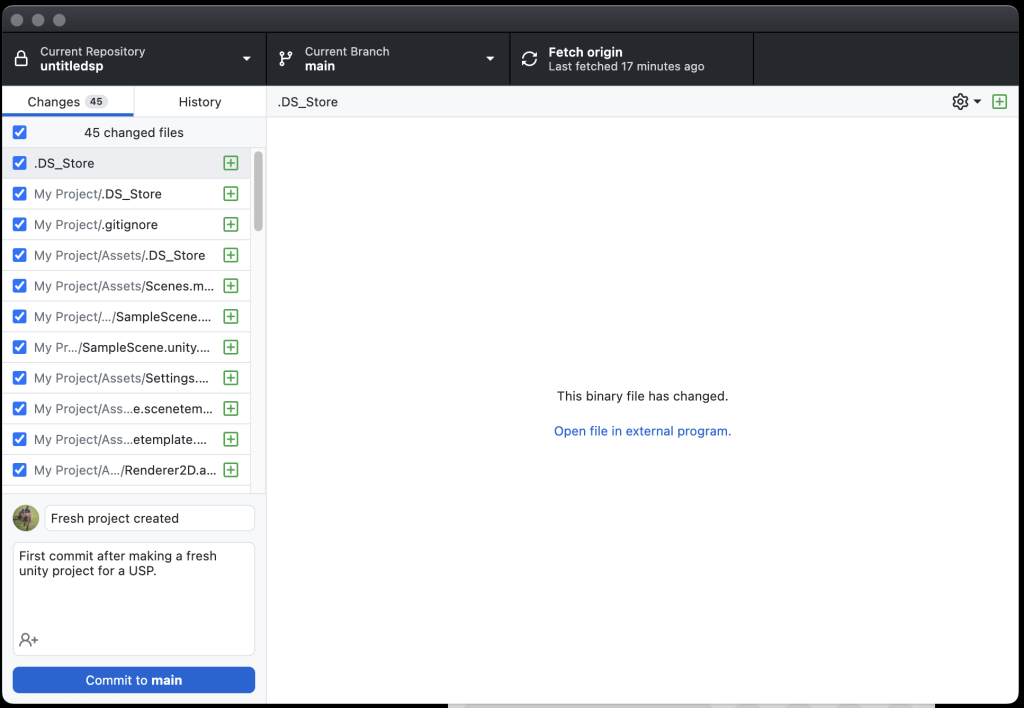
Commit to main which will save this “version” of your files.
To push it to GitHub, in the cloud, you need to click Push origin.
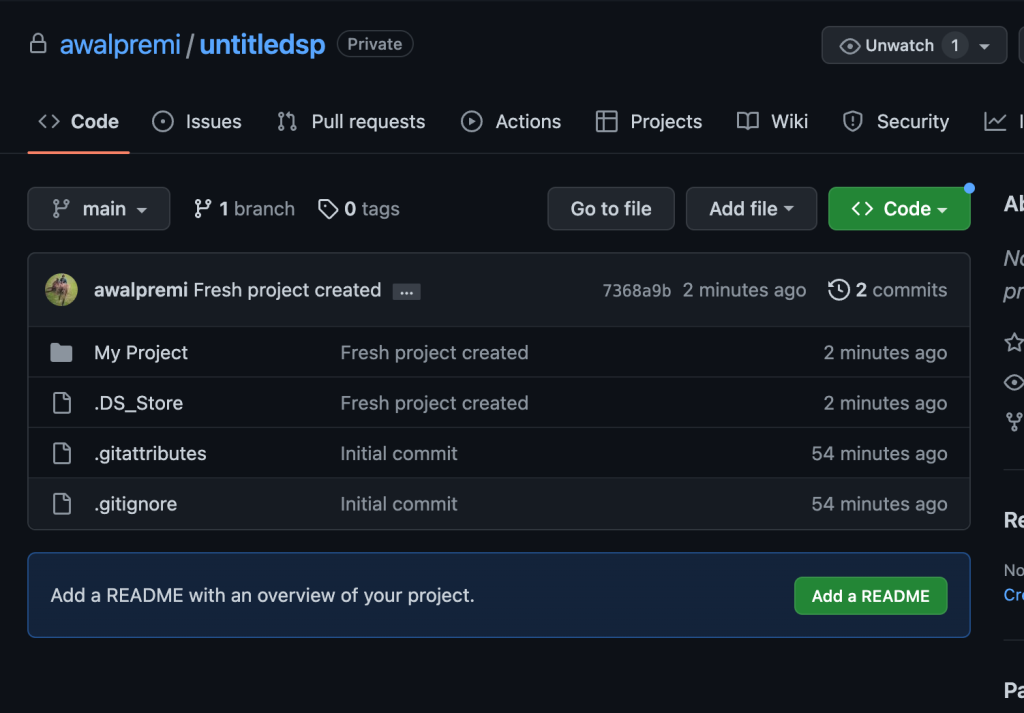
If you go to GitHub now you’ll see your files exist there. You can keep committing and pushing frequently and it’ll give you flexibility to go back to a version that was working etc.
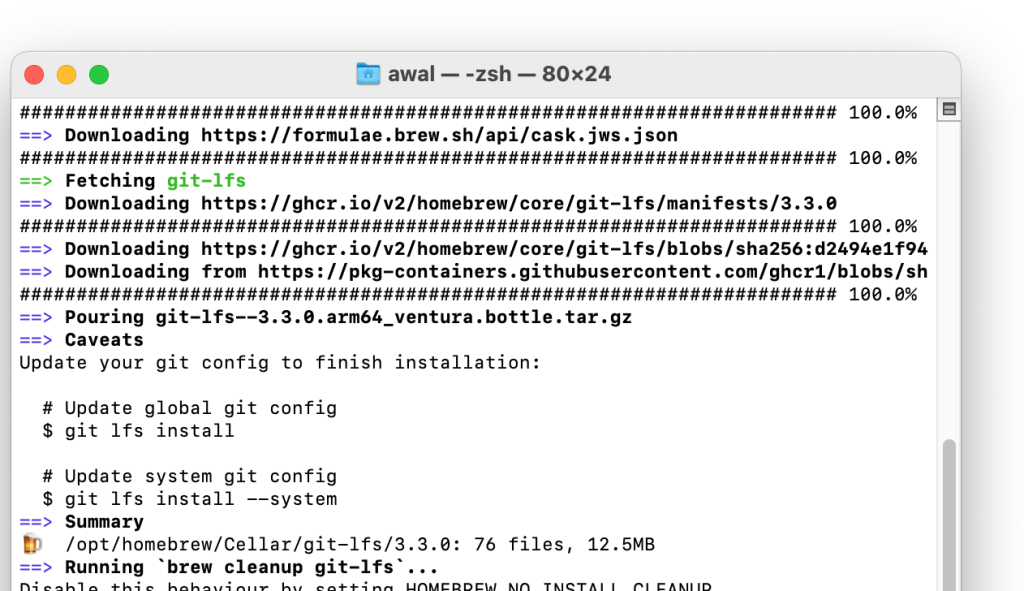
If you’re curious and actually need large file support for a project you can install it via brew. I don’t recommend doing it unless you need it.
brew install git-lfs
Nothing makes you feel like a hacker like using the terminal, it’s like you already know how to use git properly.
Likewise, if you want to ignore more files or folders open the .gitignore file and you can add stuff to ignore in it. https://git-scm.com/docs/gitignore
Add the files or folders you don’t want git to track, you can use # to write an optional comment above it.
Nice work, these are things you can use to improve your git workflow.
- learn how to use git from terminal, sometimes it’s faster and more intuitive; sometimes the UI is nice in Github Desktop. https://education.github.com/git-cheat-sheet-education.pdf
- Learn branches, actually learn how to use version control for a large project with many collaborators. Now that you know how to set up a repo it’s a good time to go learn about using it to collaborate.
- Github actions are cool, I’ll write a post about it later.