Let’s kick things off by installing Hugo. I have a Mac, so I used Homebrew:
brew install hugo
If you’re on some other operating system, no worries—grab the instructions here: Hugo Installation Guide.
Oh, and I’ll be using Git too. If you don’t have it, install it like this:
brew install git
Before we dive in, just a heads-up: this is a hardcore article. If “CI/CD,” “DNS,” “config files,” and other tech buzzwords sound like alien gibberish, buckle up. You’ll learn:
- How to host multiple websites for free with custom domains
- How to use GitHub Actions
- How to configure all sorts of stuff
If any of that rings a bell, then this should be a walk in the park.
Configuring your website
Open up a terminal and navigate to where you want your website files. I keep my projects in a folder called Applis, so I cd into it:
cd path/to/Applis

Once there, start a new site using Hugo
hugo new site aeiowebsite

Nice. Now we cd into that folder. In my case it’s called aeiowebsite.
cd aeiowebsite

You can type code . to open it up in VS Code. If that doesn’t work for you, just open the folder in whatever editor you prefer.

To make your life easier, pick a theme from Hugo Themes.

I picked PaperMod because it was first. No joke—I’m being serious.
Assuming you have Git installed, initialize a Git repository and add the theme:

git init
git clone https://github.com/adityatelange/hugo-PaperMod.git themes/PaperMod

Cool, so far so good. Now, update your hugo.toml configuration file and add theme = "PaperMod". I added some optional parameters in mine:
baseURL = "https://example.com"
languageCode = "en-us"
title = "Your Site Title"
theme = "PaperMod"

[params]
  author = "Your Name or Team"
  description = "A description of your site for SEO."
  defaultTheme = "auto"  # Light/Dark theme auto-switching
  disableSearch = false  # Enable built-in search
  mainSections = []

Your first page
The annoying part is complete. It is smooth sailing from here.
Inside the content folder, we’ll create Markdown files that will be our pages. This command will sort it out for you:
hugo new _index.md

Ideally, you’re familiar with Markdown. If not, it’s super easy to pick up. We’ll edit and publish that page by changing draft to false:
+++
date = '2024-11-29T12:09:38-07:00'
draft = false
title = 'Some title for home'
+++

# this is heading 1

## this is heading 2

### this is heading 3

- This is a bullet point
Preview your site by starting the server:
hugo server


If you change the Markdown, it’ll update immediately. You’ll notice the title says “Your Site Title” instead of what’s in the Markdown file. We’ll fix that by editing the title in hugo.toml later.
Here’s an example if you don’t feel like experimenting:
+++
date = '2024-11-29T12:09:38-07:00'
draft = false
title = 'Some title for home'
+++

# this is heading 1

## this is heading 2

### this is heading 3

- **This is a bullet point**

- [Twitter](https://twitter.com/yourprofile)
- [Facebook](https://facebook.com/yourprofile)
- [LinkedIn](https://linkedin.com/yourprofile)

## Contact Us

Have any questions? Feel free to [contact us](mailto:[email protected]).

---

This is below the seperator

```python
def hello_world():
    print("Hello, world!")
```

> This is a blockquote

You can even make tables
| Syntax | Description |
| ----------- | ----------- |
| Header | Title |
| Paragraph | Text |
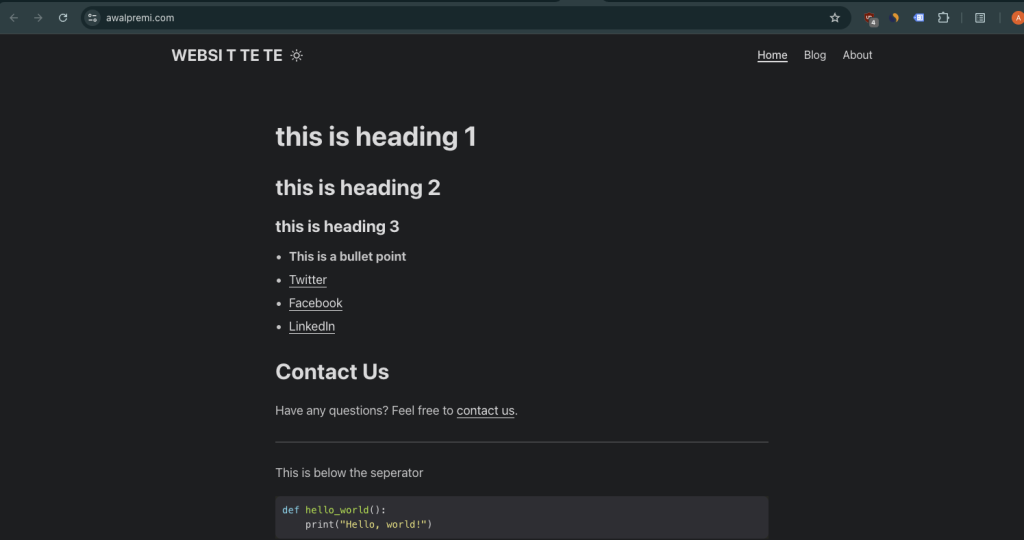
It should look pretty, I also updated the site title in the .toml file.
baseURL = "https://example.com"
languageCode = "en-us"
title = "WEBSI T TE TE"
theme = "PaperMod"

[params]
  author = "Your Name or Team"
  description = "A description of your site for SEO."
  defaultTheme = "auto"  # Light/Dark theme auto-switching
  disableSearch = false  # Enable built-in search
Creating more pages
Let’s make a blog section and set up navigation. Create the blog folder within the content directory:
mkdir -p content/blog
Create a couple of posts, you can add content in them if you want:
hugo new blog/my-first-post.md
hugo new blog/my-second-post.md

Also, create a second page that’s not a blog post:
hugo new about.md
+++
date = '2024-11-29T13:15:09-07:00'
draft = false
title = 'About'
+++


Welcome
Ensure draft = false in all the pages you want to display.
Add menu navigation by editing hugo.toml and adding the menu at the end:
[menu]

  [[menu.main]]
    name = "Home"
    url = "/"
    weight = 1

  [[menu.main]]
    name = "Blog"
    url = "/blog/"
    weight = 2

  [[menu.main]]
    name = "About"
    url = "/about/"
    weight = 3
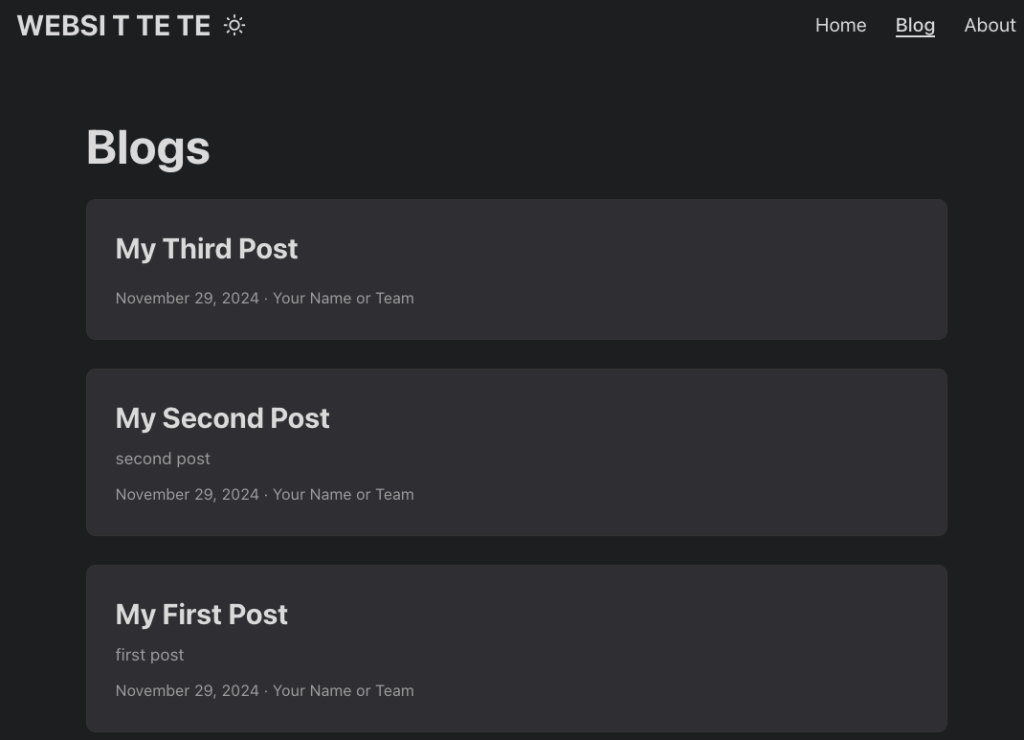
They should preview correctly.
You’ll notice the About page displays the date and team name. I disabled mine and added more parameters for fun:

+++
date = '2024-11-29T13:15:09-07:00'
draft = false
title = 'About'
ShowCodeCopyButtons = true
hideMeta = true
showtoc = true
description = 'about page containing multitudes'
+++

```python
print('About page')
```

# one

## two

### three

# one
The footer might be annoying, but you can customize it by editing `themes/papermod/layouts/partials/footer.html`. In my theme, the footer was between lines 17 and 21.
I changed by footer to say Powered by Coffee and Coca-Cola.


Ok whenever you are happy with the website you can move forward to deployment.
Deployment
First, “minify” the website and clean up:
hugo --minify

Delete the .git folder in the theme directory to prevent Git from thinking it’s a nested repo:
rm -rf themes/PaperMod/.git
rm -rf themes/PaperMod/.github
git rm --cached themes/PaperMod
Once ready make a public repo on Github for free Github Actions use.

You should see a few handy commands to push existing code. If you don’t know git then you can look up what these do.

Then, in your terminal, run:
git remote add origin YOUR_REPO_URL.git
git branch -M main
git add .
git commit -m "Hugo site for landing pages"
git push -u origin main

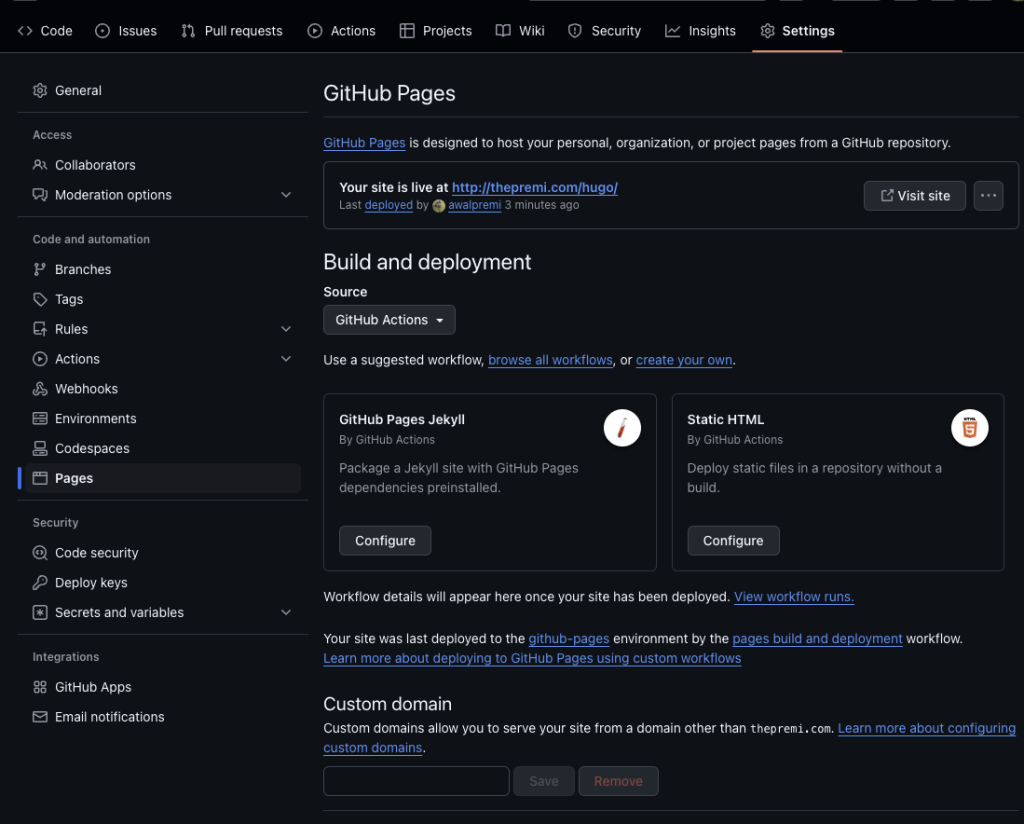
In your GitHub repo, go to Settings > Pages. We’ll deploy using GitHub Actions.

Search for the Hugo workflow, and configure it.


Cool, click configure to make sure everything is in order.
I noticed a couple of things:
- We don’t have nodejs dependencies in this particular theme. I’ll leave it alone because your theme might need it.
- It minify’s the hugo theme thus ‘builds’ it for our use automatically.

Under minify you will notice… holy crap, update baseURL in your hugo.toml file to match your GitHub Pages URL.
https://<your-username>.github.io/<repository-name>/
For example:
https://awalpremi.github.io/hugo/

Test it by restarting the server and navigating to http://localhost:1313/hugo/.
Push the changes:
git add .
git commit -m "fixed baseurl"
git push
Github Actions workflow
After adequately understanding what the Hugo workflow is doing lets wait to click commit. Instead of committing the workflow via GitHub’s website (which might mess with your local repo), create a workflow file locally.
Create the .github/workflows directory:
mkdir -p .github/workflows
In that folder, create a .yml file (e.g., something.yml) and paste the GitHub workflow content you copied earlier.


Push your changes:

My build failed lol.

If you hover on that red x and then you click it, then you’ll know why.

So, submodule is a way to add another repo into your own git repo. It’s common to add themes this way, we didn’t use submodules. We copied the theme directly into the themefolder.
If your build fails due to submodule issues, edit your workflow.yml file and remove the submodule lines (lines 44 and 45).


Pushh.


Yess ffs. Now we wait for like a minute then visit your website.
https://awalpremi.github.io/hugo

What a beauty.
Custom domain setup
My link is annoying. To use a custom domain, go back to the Pages section in your repo’s Settings. Enter your domain and click Save.

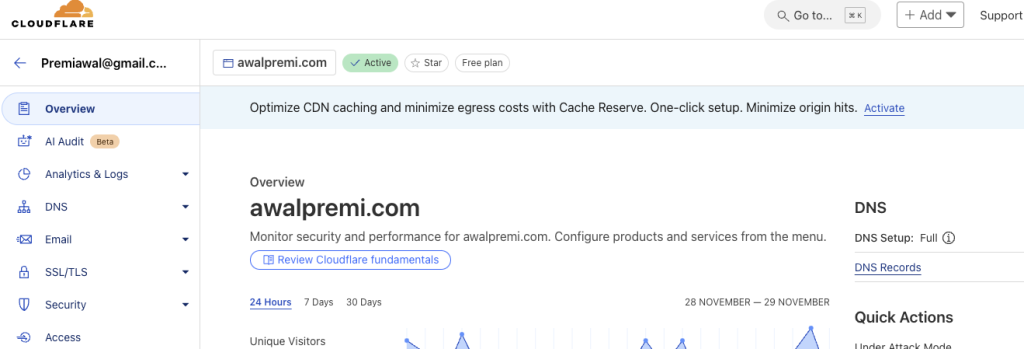
In your DNS provider (I use Cloudflare), add the following DNS records:

CNAME Record:

Type: CNAME
Name: www
Target: <your-username>.github.io
A Records:

Type: A
Name: @
Value: 185.199.108.153
Value: 185.199.109.153
Value: 185.199.110.153
Value: 185.199.111.153

Verify the DNS settings with dig:
dig awalpremi.COM +noall +answer -t A
Mine are correctly pointing to Cloudflare (proxy). Dw about it, if the output makes no sense to you.
Right, we need to fix the baseURL again in hugo.toml.

Modify your GitHub Actions workflow to add the CNAME file to the public folder after the minify step:
A good place to put it is after minify and before uploading the artifact.
      - name: Add CNAME for custom domain
        run: echo "awalpremi.com" > ./public/CNAME
      - name: Debug Build Output
        run: ls -R ./public
Delete your public folder (GitHub Actions will build it each time), and add it to .gitignore:
/public/

BTW you can make a .gitignore file if you didn’t have one in the root folder of the project.
PUSSFH
It didn’t fix…
NVM needed a minute.

Final thoughts
Congratulations! You’ve learned how to host multiple websites on GitHub Pages with one account, use CI/CD with GitHub Actions, and set up automatic deployments.

It’s blazing fast.
You can check out the hugo.toml and workflow files here:
I’ll cover adding Google Tag Manager and analytics in another post.
